So our very first modal!! How exciting though a bit daunting as I don't think that anyone knew what is was we were meant to be doing, how much work and what we were meant to be achieving!
However I was pleased with the final outcome though it was a little obscure and I managed to do a fair bit of experimenting which was good as Ive never really done much mould making and resign work before!
 Once dried I then started to have a play around with what I could do with my castings. I decided that if I could wrap them around they would make these really nice shapes that I could potentially make them into light fittings. So this being only a prototype as there is a lot of things that would need to be worked out like how they would be fixed together as the hot glue just wouldn't do it!
 Another way that the hanging light fixings could look, I was just having a play around with ideas!
 If you apply heat to the casting then it will go see-through so by putting the cast into the oven and leaving it there for a while will mean that A. it will dry it out a little more and reduce the tackiness of the casting and B. sharpen the colour up and reduce the opaqueness.
  I then let it set (again for about 6-8 hours but I left it over night). Once dried the bio resign gives a very bubbly effect which is really nice. I slowly worked the cast out of the mould being careful not to break the resign as its still delicate - partly as the mould is thin.
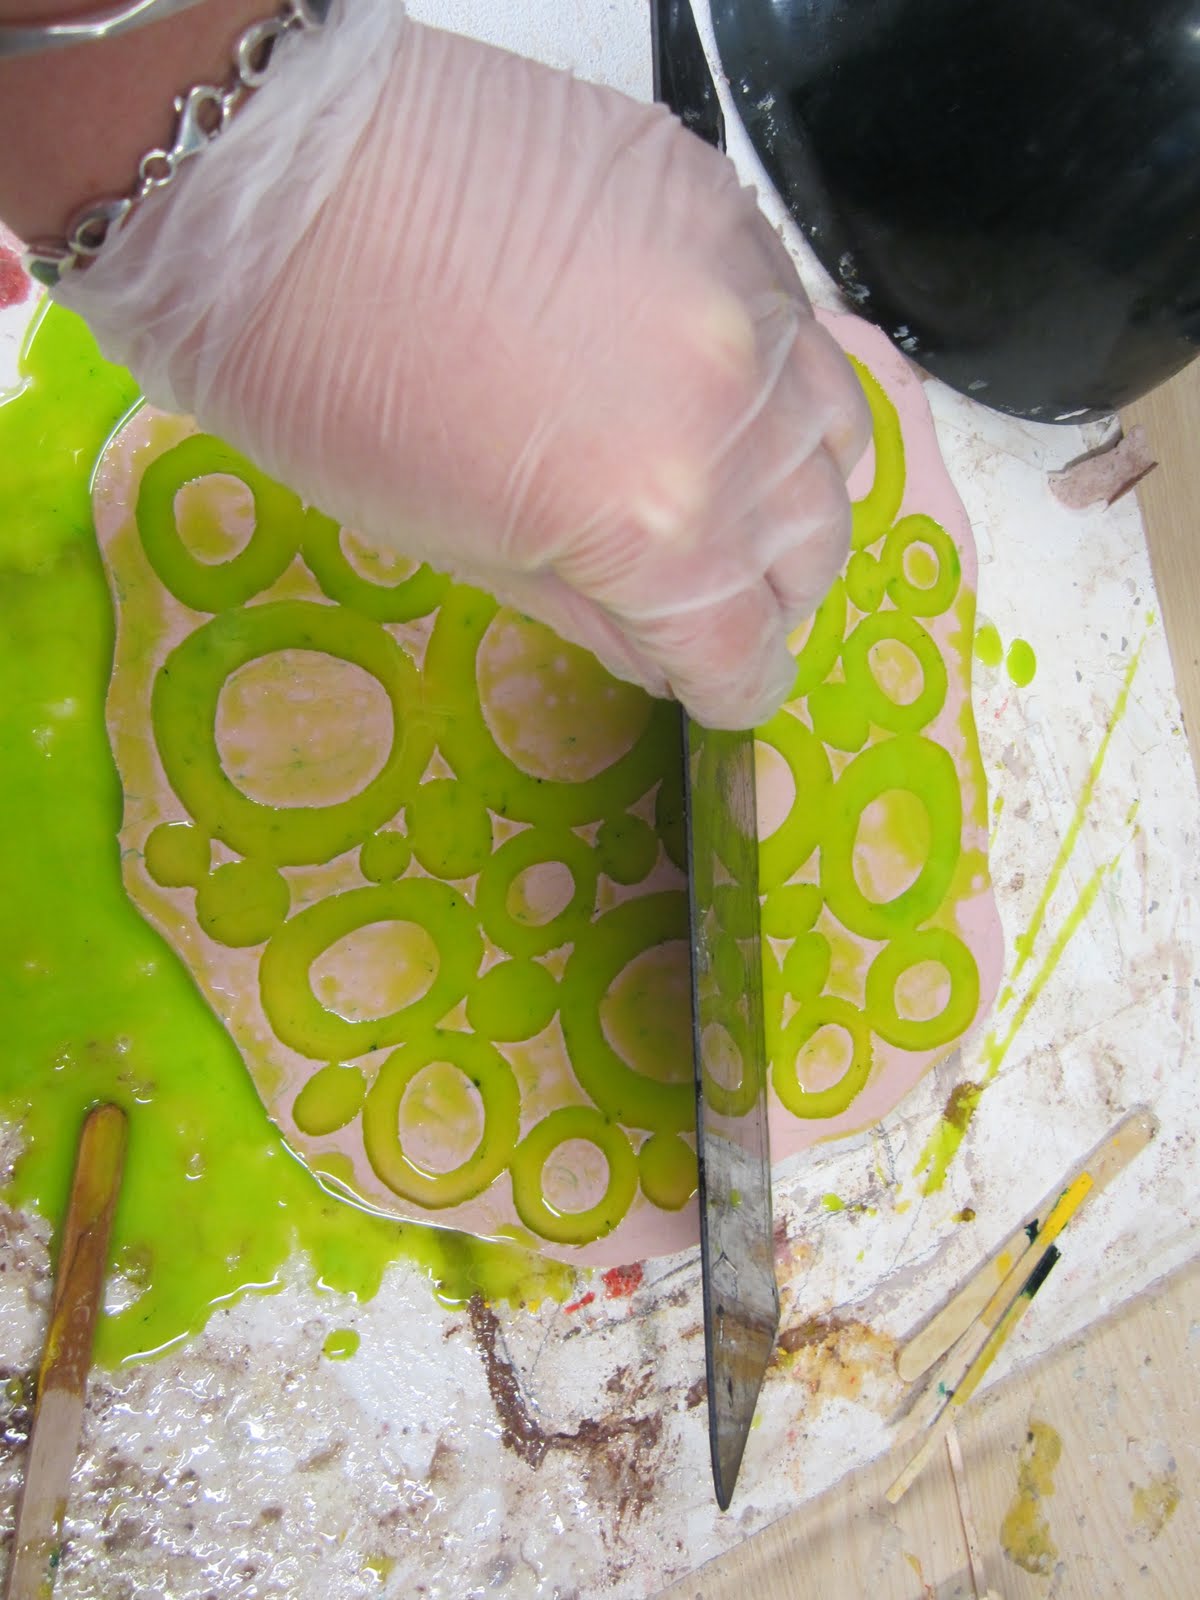
Carefully I then pored the resign into my mould and equaled it off.
 I then added a little colour pigmentation to make it a bit more exciting and mixed the resign up well you want the two parts to be really mixed else parts of the resign would set or it will just turn out like jelly!
To mix the bio resign you need Bio-resign:1/3 Vs Hardener:2/3 to have the right proportions.

Close up picture of the latex mould where you can see some little "nicks" in the sides of some of the detail, I'm hoping that when I start to cast the resign wont pick these up.
 Turning the latex mould over I was slightly disappointed to find that the latex had found its way underneath the card model so next time ill have to stick it down to a flat surface with glue or something a bit stronger than just wedging it with clay! Anyway I cut out all the bits of my card mould and neatened up the edges so that I could then start to cast some resign.
 Once the Latex was dry (usually taking about 6-8 hours, but I just left it over night) I then removed the dried out wall.
 Before I could even start to cast anything I needed to build a mould. I did this through making a mock up of what I wanted cast out of card, building a wall of clay around the outside and poring latex over the top.
No comments:
Post a Comment